
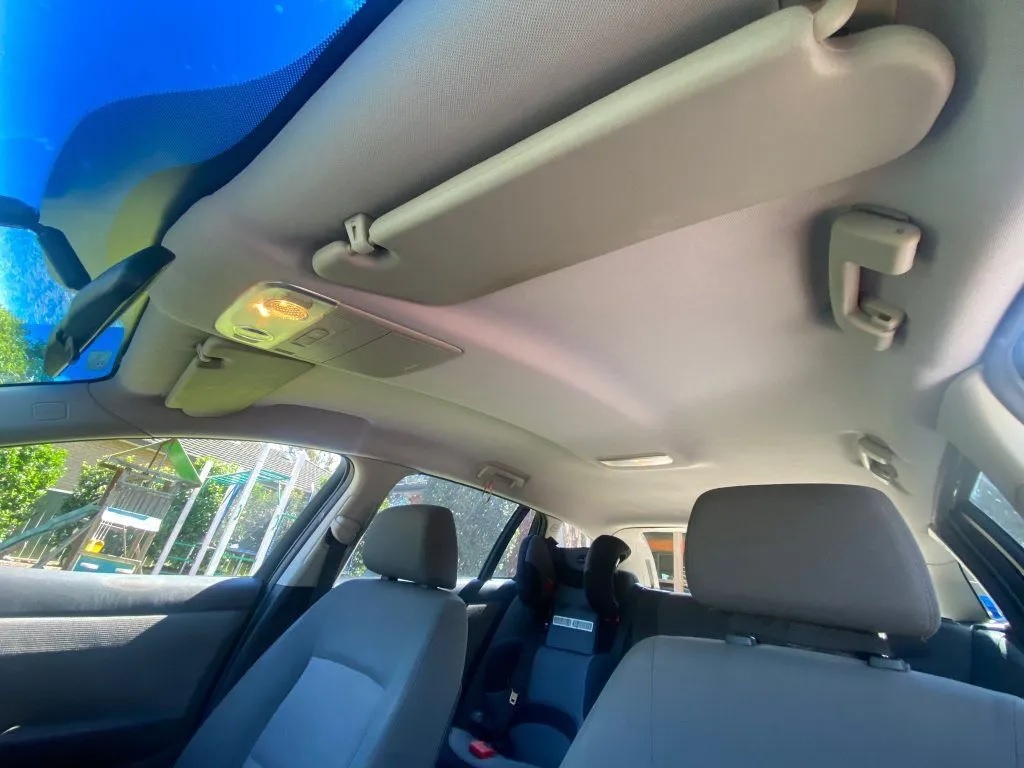
The annoyance of a sagging headliner can turn any car ride into an uncomfortable experience. Whether it’s the result of years of wear and tear or exposure to harsh weather conditions, the sagging headliner conundrum is a common issue for many vehicle owners. In this detailed guide, we’ll delve deeper into the reasons behind a sagging headliner, explore additional materials and techniques for fixing it, and offer tips to ensure a successful and long-lasting repair.
Table of Contents
- Understanding the Causes of a Sagging Headliner
- Materials and Tools for a Successful DIY Fix
- Advanced DIY Techniques for Stubborn Sagging Headliners
- Tips for a Successful and Lasting Repair
- Expert Tips for Headliner Perfection: Elevate Your DIY Game
- 1. Choose Quality Adhesive Wisely
- 2. Prioritize Cleanliness
- 3. Test Adhesive Compatibility
- 4. Mind the Temperature
- 5. Gentle Pressing, Patience in Bonding
- 6. Utilize Fabric Pins for Precision
- 7. Foam Backing for Added Support
- 8. Professional Steam Cleaning for Stains
- 9. Preventive Measures for Future Sagging
- 10. Consult with Professionals
- FAQs: Navigating the Headliner Fixing Maze
- 1. Why is my car’s headliner sagging?
- 2. Can I use any adhesive for fixing my headliner?
- 3. Is it necessary to clean the headliner before applying adhesive?
- 4. How do I test adhesive compatibility with my headliner material?
- 5. Can I perform the repair in extreme temperatures?
- 6. Do fabric pins really make a difference in the repair process?
- 7. How do I choose the right foam backing for added support?
- 8. Can professional steam cleaning fix stains on my headliner?
- 9. What preventive measures can I take to avoid future sagging?
- 10. When should I consult with professionals for headliner issues?
- Conclusion: A Refreshed Interior Awaits
Understanding the Causes of a Sagging Headliner
As mentioned earlier, prolonged exposure to heat, humidity, and the natural aging of materials can weaken the adhesive holding the headliner in place. However, there are additional factors that contribute to this predicament. Understanding these causes can help you take preventative measures in the future.
1. Sun Damage
The sun’s UV rays can be particularly harsh on your car’s interior. Over time, they can cause the adhesive to degrade, leading to the sagging of the headliner. Parking your car in shaded areas or using sunshades can mitigate this issue.
2. Humidity and Moisture
Regions with high humidity levels can accelerate the deterioration of the adhesive. Moisture can seep into the headliner material, compromising its structural integrity. Consider using a dehumidifier or moisture-absorbing products inside your car.
3. Age and Material Quality
As cars age, the quality of the materials used in the headliner can play a significant role in its longevity. Lower-quality materials may succumb to wear and tear more quickly, resulting in sagging. Investing in a higher-quality headliner during replacements can extend its lifespan.
Materials and Tools for a Successful DIY Fix
Beyond the basic supplies mentioned earlier, there are additional materials and tools that can enhance the effectiveness of your DIY repair.
1. Headliner Adhesive Options
Choosing the right adhesive is crucial for a lasting fix. Opt for high-temperature-resistant adhesives that can withstand the heat generated inside a car. Brands like 3M and Permatex offer reliable options.
2. Screwdriver Set
Having a variety of screwdrivers can be handy, especially if you encounter screws securing the headliner in place. A comprehensive set ensures you have the right tool for the job.
3. Upholstery Cleaner
Before applying any fixes, it’s essential to clean the headliner thoroughly. An upholstery cleaner helps remove dirt and grime, providing a clean surface for the adhesive to bond.
Advanced DIY Techniques for Stubborn Sagging Headliners
If the basic adhesive application isn’t sufficient, consider these advanced techniques to tackle more persistent sagging.
1. Fabric Reupholstering
While basic fixes involve reattaching the existing headliner, sometimes the material is beyond repair. In such cases, consider reupholstering the entire headliner with a matching fabric for a fresh look. (See Also: What Type of Fabric is Best for Headliner? Explore Top Choices for Your Car Interior)
2. Foam Backing Addition
For sagging areas with thinning padding, adding a foam backing can provide additional support. This technique helps restore the headliner’s original thickness and appearance.
3. Professional Steam Cleaning
If your headliner has stains or discoloration, professional steam cleaning can rejuvenate the fabric without compromising its structural integrity.
Tips for a Successful and Lasting Repair
- Temperature Considerations: Perform the repair in moderate temperatures, as extreme heat or cold can affect the adhesive’s effectiveness.
- Patience is Key: Allow the adhesive to cure fully before subjecting the headliner to stress or pressure. This ensures a secure and long-lasting bond.
- Precision with Adhesive Application: Apply adhesive evenly to avoid clumps or uneven bonding. This attention to detail contributes to a seamless repair.
- Professional Consultation: If you’re unsure about the extent of the damage or the appropriate fix, consult with a professional. They can provide guidance on the best course of action for your specific situation.
Expert Tips for Headliner Perfection: Elevate Your DIY Game
Embarking on the journey to fix a sagging headliner requires a combination of skill and savvy. As you delve into this DIY endeavor, consider these expert tips to ensure your repair is not only successful but also stands the test of time.
1. Choose Quality Adhesive Wisely
Investing in a high-quality adhesive is paramount to a durable fix. Opt for adhesives designed specifically for automotive interiors, ensuring they can withstand the temperature variations within your car. Cheap adhesives may provide a quick fix, but they often fail to hold up against the harsh conditions your car may face.
2. Prioritize Cleanliness
Before applying any adhesive, thoroughly clean the headliner surface. Use a gentle upholstery cleaner to remove dirt and grime, allowing for a pristine bonding surface. A clean surface not only promotes better adhesion but also ensures a professional-looking finish. Take the time to meticulously clean the entire area, paying attention to corners and edges.
3. Test Adhesive Compatibility
Before committing to applying adhesive to the entire headliner, perform a small test on an inconspicuous area. This ensures compatibility with your headliner material and prevents any unwanted discoloration or damage. A quick compatibility test can save you from potential headaches and additional repairs down the line.
4. Mind the Temperature
Perform the repair in moderate temperatures. Extreme heat can cause the adhesive to dry too quickly, while extreme cold can hinder its effectiveness. Aim for a comfortable, controlled environment to ensure the adhesive has sufficient time to bond properly. If possible, choose a day with mild weather conditions for optimal results.
5. Gentle Pressing, Patience in Bonding
After applying the adhesive, resist the urge to press too hard immediately. Gently press the headliner into place and allow ample time for the adhesive to bond. Patience ensures a secure and long-lasting repair. Rushing this step may lead to an uneven bond or, worse, a reoccurrence of the sagging issue. Let the adhesive work its magic over time.
6. Utilize Fabric Pins for Precision
In areas where additional support is needed, fabric pins can be your secret weapon. These tiny tools help secure the headliner with precision, ensuring a seamless and professional finish. Use fabric pins strategically, focusing on areas where the sagging is more pronounced. This technique is particularly effective in creating an even and tight bond across the entire surface.
7. Foam Backing for Added Support
If your headliner suffers from thinning padding, consider adding a foam backing. This technique not only provides extra support but also restores the original thickness for a flawless appearance. Carefully select a foam material that complements the existing padding, and ensure it adheres securely to prevent future sagging. This additional layer of support can make a significant difference, especially in older vehicles. (See Also: How Do Air Conditioned Seats Work? Stay Cool Inside Your Car!)
8. Professional Steam Cleaning for Stains
For headliners marred by stains or discoloration, consider professional steam cleaning. This advanced cleaning technique rejuvenates the fabric without compromising its structural integrity. While DIY cleaning methods can be effective for general maintenance, professional steam cleaning ensures a deeper, more thorough restoration. Consult with reputable automotive detailing services to assess the best approach for your specific headliner material.
9. Preventive Measures for Future Sagging
Once you’ve successfully repaired your headliner, take preventive measures to avoid future sagging. Use sunshades to protect against UV rays, park in shaded areas, and keep your car’s interior well-ventilated to minimize humidity. Implementing these preventive steps can significantly extend the lifespan of your headliner repair. Consider them as ongoing maintenance to preserve the integrity of your car’s interior for the long haul.
10. Consult with Professionals
When in doubt about the extent of damage or the appropriate fix, don’t hesitate to consult with professionals. Their expertise can provide valuable insights and ensure the longevity of your headliner repair. Professional advice becomes especially crucial if you encounter unexpected challenges during the DIY process or if the sagging is a symptom of more extensive issues. A professional evaluation ensures that your efforts yield a lasting solution rather than a temporary fix.
Implementing these expert tips will not only elevate your DIY headliner repair but also contribute to a polished and enduring result. Happy fixing! Remember, the key to success lies in meticulous preparation, careful execution, and ongoing maintenance. Your car’s interior deserves the best care, and these tips are your guide to achieving headliner perfection.
Embarking on a mission to rescue your car’s sagging headliner can lead to a multitude of questions. Fear not! We’ve compiled some frequently asked questions to guide you through the intricacies of this DIY endeavor.
1. Why is my car’s headliner sagging?
Answer: The sagging is often a result of weakened adhesive due to prolonged exposure to heat, humidity, and general aging. Other factors like sun damage, moisture, and the quality of materials used in the headliner can also contribute.
2. Can I use any adhesive for fixing my headliner?
Answer: It’s crucial to choose a high-quality adhesive specifically designed for automotive interiors. Brands like 3M and Permatex offer reliable options. Cheap adhesives may provide a quick fix, but they often lack the durability required for a long-lasting repair.
3. Is it necessary to clean the headliner before applying adhesive?
Answer: Yes, cleaning the headliner is essential. Use a gentle upholstery cleaner to remove dirt and grime. A clean surface promotes better adhesion and ensures a professional-looking finish.
4. How do I test adhesive compatibility with my headliner material?
Answer: Perform a small test on an inconspicuous area before applying adhesive to the entire headliner. This helps prevent unwanted discoloration or damage. Ensure the adhesive is compatible with your specific headliner material.
5. Can I perform the repair in extreme temperatures?
Answer: It’s recommended to perform the repair in moderate temperatures. Extreme heat can cause the adhesive to dry too quickly, while extreme cold can hinder its effectiveness. Aim for a comfortable, controlled environment. (See Also: How to Keep Car Seat Covers in Place: Tips for a Secure and Stylish Interior)
6. Do fabric pins really make a difference in the repair process?
Answer: Yes, fabric pins can provide additional support in areas where the sagging is more pronounced. They help secure the headliner with precision, ensuring a seamless and professional finish.
7. How do I choose the right foam backing for added support?
Answer: Select a foam material that complements the existing padding in your headliner. Ensure it adheres securely to provide extra support and restore the original thickness for a flawless appearance.
8. Can professional steam cleaning fix stains on my headliner?
Answer: Yes, professional steam cleaning can effectively rejuvenate the fabric without compromising its structural integrity. Consult with reputable automotive detailing services to assess the best approach for your specific headliner material.
9. What preventive measures can I take to avoid future sagging?
Answer: Use sunshades to protect against UV rays, park in shaded areas, and keep your car’s interior well-ventilated to minimize humidity. These preventive steps can significantly extend the lifespan of your headliner repair.
10. When should I consult with professionals for headliner issues?
Answer: If you encounter unexpected challenges during the DIY process, or if the sagging is a symptom of more extensive issues, it’s advisable to consult with professionals. Their expertise ensures a lasting solution rather than a temporary fix.
Navigating the headliner fixing maze becomes more manageable with these FAQs and answers. Remember, each car may have unique considerations, so adapt these tips to suit your specific situation. Happy fixing!
Conclusion: A Refreshed Interior Awaits
Repairing a sagging headliner in your car may initially seem like a daunting task, but armed with the right information and tools, it becomes a manageable DIY project. Whether you’re dealing with a minor droop or more extensive sagging, taking the time to understand the causes and employing the appropriate techniques can make all the difference. Enjoy a revitalized car interior that not only looks great but also reflects the care and attention you’ve invested in your vehicle. Safe travels!