
Crafting a headliner from scratch can be a deeply rewarding and satisfying DIY project for car enthusiasts. Whether you’re looking to restore a classic car or add a personal touch to your vehicle’s interior, this comprehensive guide will take you through the entire process step by step.
Table of Contents
- Getting Started
- Preparing Your Workspace
- Removing the Old Headliner
- Crafting Your Headliner
- Adding the Finishing Touches
- Maintenance Tips
- Troubleshooting
- Showcasing Your Work
- Expert Tips for Crafting the Perfect DIY Headliner
- 1. Invest in Quality Materials
- 2. Precision is Key: Measure Twice, Cut Once
- 3. Master the Art of Adhesive Application
- 4. Patience During Stretching and Securing
- 5. Attention to Detail in Trimming
- 6. Documentation for Reinstallation
- 7. Regular Maintenance for Longevity
- 8. Troubleshooting with Confidence
- 9. Engage with the Enthusiast Community
- Frequently Asked Questions About Crafting a DIY Headliner
- 1. What Materials Do I Need for Making a Headliner?
- 2. How Do I Remove the Old Headliner Without Damaging It?
- 3. Can I Use Different Materials for a Unique Look?
- 4. What Adhesive Should I Use for Attaching the Fabric?
- 5. How Can I Prevent Wrinkles and Bubbles in the Fabric?
- 6. Is Trimming the Fabric Difficult?
- 7. What’s the Importance of Documentation During Removal?
- 8. How Do I Maintain the Quality of My DIY Headliner?
- 9. What Should I Do If I Encounter Challenges During the DIY Process?
- 10. Can I Share My DIY Headliner Project on Social Media?
- Conclusion
Getting Started
1. Understanding the Basics
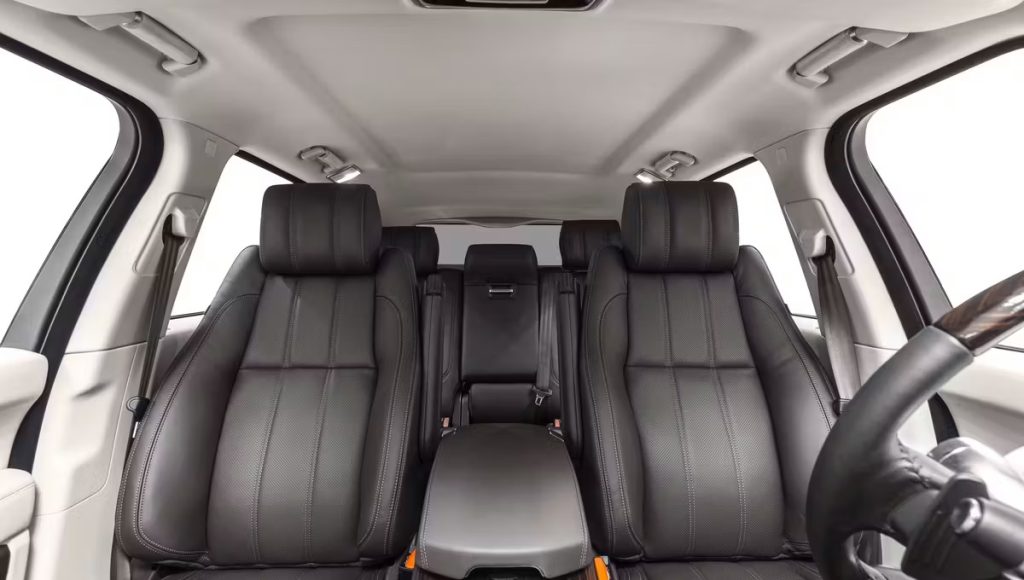
Before diving into the hands-on aspect, it’s crucial to understand the basics of headliner construction. A headliner typically consists of a fabric layer, foam padding, and a rigid board. Familiarize yourself with these elements to make informed decisions throughout the project.
2. Choosing the Right Materials
The success of your DIY headliner project largely depends on the materials you choose. Explore various fabric options, from traditional headliner fabric to more unconventional choices like suede or leather. Additionally, understand the different types of foam padding available for optimal comfort and durability.
Preparing Your Workspace
3. Setting Up Your Work Area
Creating a conducive workspace is key to a smooth DIY experience. Organize your tools and materials efficiently, ensuring easy access. Adequate lighting is essential for precision, and don’t forget to implement safety measures, including protective gear.
4. Measuring and Planning
Accurate measurements are the foundation of a successful headliner project. Carefully measure the dimensions of your car’s interior, taking into account curves and contours. With precise measurements, you’ll be able to plan the layout effectively, minimizing waste and ensuring a perfect fit.
Removing the Old Headliner
5. Step-by-Step Removal Process
Removing the existing headliner requires patience and care. Begin by detaching any accessories like visors or handles. Document the removal process, taking note of how the original headliner was installed. This documentation will serve as a valuable reference during the installation of the new headliner.
Crafting Your Headliner
6. Cutting and Shaping the Material
Once the old headliner is removed, it’s time to work on the new one. Lay the chosen fabric on a flat surface and trace the dimensions using your precise measurements. Use sharp tools to cut the fabric with care, ensuring clean edges. Pay close attention to curves and corners, as these can be challenging but are crucial for a professional finish.
7. Applying Adhesives
Choosing the right adhesive is paramount. Consult with experts at your local automotive supply store to find an adhesive suitable for your specific fabric and car interior. Apply the adhesive evenly, allowing it to become tacky before affixing the fabric. This step ensures a secure and long-lasting bond.
8. Stretching and Securing
Achieving a smooth and wrinkle-free finish requires mastering the art of stretching and securing the fabric. Work slowly and methodically, starting from the center and moving outward. Smooth out any wrinkles as you progress, securing the fabric tightly to the board. This meticulous approach guarantees a professional-looking result.
Adding the Finishing Touches
9. Trimming and Detailing
The final touches can elevate your DIY headliner from good to outstanding. Trim excess fabric carefully, leaving a neat and clean edge. Consider adding personal touches such as decorative stitching or contrasting panels for a unique and customized look.
10. Reinstalling Your DIY Headliner
With your handcrafted headliner ready, it’s time to reinstall it in your car. Ensure a snug fit by carefully aligning the edges with the interior contours. Use the documentation from the removal process as a guide. Take your time with this step to guarantee a seamless and professional-looking installation. (See Also: Car Roof Upholstery Repair Cost: A Comprehensive Guide to Budget-Friendly Fixes)
Maintenance Tips
11. Caring for Your Handcrafted Headliner
Preserving the quality of your DIY headliner involves regular maintenance. Use a gentle fabric cleaner to remove any stains or dirt. Avoid harsh chemicals that could damage the fabric or adhesive. Additionally, be mindful of sharp objects that could puncture or tear the headliner.
Troubleshooting
12. Common Issues and Solutions
Despite careful planning, challenges may arise during the DIY process. If wrinkles or bubbles appear, carefully peel back the fabric and reapply it, smoothing out imperfections. For adhesive issues, consult with experts or consider reapplying with a different adhesive tailored to your specific situation.
Showcasing Your Work
13. Sharing Your Customization Journey
Connect with fellow car enthusiasts by sharing your DIY headliner project on social media platforms. Document the process with photos and captions, detailing the challenges you overcame and the unique features you added. Engaging with the community can provide inspiration for future projects and foster a sense of camaraderie.
Expert Tips for Crafting the Perfect DIY Headliner
Embarking on the journey of making a headliner from scratch requires both skill and finesse. As you delve into this rewarding project, consider these expert tips to ensure a seamless and professional outcome.
1. Invest in Quality Materials
Choosing high-quality fabric and foam padding may incur a slightly higher cost initially, but the longevity and aesthetic payoff are well worth the investment. Opt for materials that not only match your vision but also withstand the test of time.
2. Precision is Key: Measure Twice, Cut Once
Take the time to measure your car’s interior accurately. A meticulous approach to cutting the fabric ensures a perfect fit and minimizes waste. Remember, precision in the planning stage paves the way for a flawless execution.
3. Master the Art of Adhesive Application
Adhesive application can make or break your DIY headliner. Consult with experts to select the right adhesive for your fabric and car interior. Apply it evenly, allowing it to become tacky before affixing the fabric, ensuring a secure and durable bond.
4. Patience During Stretching and Securing
Achieving a smooth and wrinkle-free finish requires patience. Start from the center and work outward, stretching and securing the fabric methodically. Smooth out any wrinkles as you progress, ensuring a polished result that reflects your attention to detail.
5. Attention to Detail in Trimming
The final trimming stage is where your headliner takes shape. Exercise caution and precision when trimming excess fabric, leaving clean and neat edges. Consider adding unique details or personalized touches for a truly customized look.
6. Documentation for Reinstallation
During the removal process, document each step with photographs and notes. This documentation becomes an invaluable guide during the reinstallation of your DIY headliner, ensuring a seamless fit and alignment with the interior contours. (See Also: When Did Toyota Start Using Softex? Explore Toyota’s Softex History)
7. Regular Maintenance for Longevity
Preserve the quality of your handcrafted headliner by adopting a regular maintenance routine. Use a gentle fabric cleaner to address stains or dirt, and avoid harsh chemicals that could compromise the fabric or adhesive. A little care goes a long way in maintaining your creation.
8. Troubleshooting with Confidence
Challenges may arise during the DIY process. If wrinkles or bubbles appear, don’t panic. Carefully peel back the fabric and reapply it, smoothing out imperfections. Seek advice from experts or consider alternative adhesives if needed.
9. Engage with the Enthusiast Community
Share your journey with the car enthusiast community on social media. Document the process, highlight unique features, and engage with fellow enthusiasts for inspiration and support. The collective knowledge and camaraderie within the community can enhance your DIY experience.
Embark on your headliner crafting adventure armed with these expert tips, and transform your car’s interior into a personalized masterpiece that reflects your passion and craftsmanship.
Frequently Asked Questions About Crafting a DIY Headliner
Embarking on the journey of crafting a headliner from scratch can bring about various questions. Here are some frequently asked questions to guide you through the process.
1. What Materials Do I Need for Making a Headliner?
Answer: To create a DIY headliner, you’ll need fabric, foam padding, a rigid board, adhesive, and essential tools like scissors and measuring tape. Consider high-quality materials for durability and a polished finish.
2. How Do I Remove the Old Headliner Without Damaging It?
Answer: Carefully detach accessories like visors and handles. Document the removal process, paying attention to how the original headliner was installed. Gentle and patient removal minimizes the risk of damage.
3. Can I Use Different Materials for a Unique Look?
Answer: Absolutely! Experiment with various fabrics like suede or leather for a distinctive touch. Ensure that your chosen materials are suitable for automotive use and provide the desired aesthetic and comfort.
4. What Adhesive Should I Use for Attaching the Fabric?
Answer: Consult with experts at your local automotive supply store to select an adhesive suitable for your chosen fabric and car interior. Apply it evenly, allowing it to become tacky before securing the fabric.
5. How Can I Prevent Wrinkles and Bubbles in the Fabric?
Answer: Stretch and secure the fabric methodically, starting from the center and moving outward. Smooth out wrinkles as you progress. If issues arise, carefully peel back the fabric and reapply, addressing any imperfections. (See Also: What Does Leather Appointed Seats Mean? Unraveling the Luxury in Your Car)
6. Is Trimming the Fabric Difficult?
Answer: Trimming is a crucial step for a professional finish. Use sharp tools and take your time to trim excess fabric, leaving clean edges. Consider adding personalized details during this stage for a unique touch.
7. What’s the Importance of Documentation During Removal?
Answer: Documenting the removal process with photos and notes serves as a valuable reference during reinstallation. It helps ensure a seamless fit and alignment with the interior contours.
8. How Do I Maintain the Quality of My DIY Headliner?
Answer: Preserve your headliner by adopting a regular maintenance routine. Use a gentle fabric cleaner for stains and avoid harsh chemicals. Be mindful of sharp objects that could damage the fabric or adhesive.
9. What Should I Do If I Encounter Challenges During the DIY Process?
Answer: Troubleshoot with confidence. If issues arise, such as wrinkles or adhesive problems, refer to expert advice, and consider alternative solutions. Patience and adaptability are key to overcoming challenges.
Answer: Absolutely! Share your journey with the car enthusiast community. Document the process, highlight unique features, and engage with fellow enthusiasts for inspiration and support.
Embark on your DIY headliner project with confidence, armed with answers to these frequently asked questions. Transform your car’s interior into a personalized masterpiece that reflects your passion and craftsmanship.
Conclusion
Crafting a headliner from scratch is not just a practical skill but a creative endeavor that allows you to put a personal stamp on your car’s interior. Embrace the DIY spirit, enjoy the process, and revel in the satisfaction of driving with a headliner you crafted with your own hands. Start your car customization journey today and witness the transformation of your vehicle’s interior into a unique and personalized space.